*This post may have affiliate links, which means I may receive commissions if you choose to purchase through links I provide (at no extra cost to you). As an Amazon Associate I earn from qualifying purchases. Please read my disclaimer for additional details. Thank you for supporting the work I put into this site!
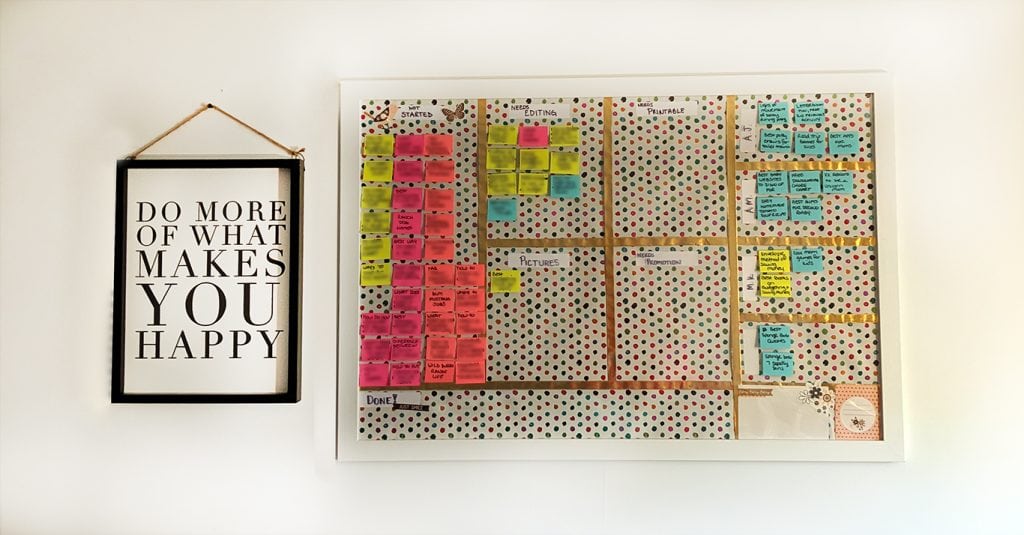
Maximizing productivity has become more and more important as I work towards trying to make blogging work as a fun and exciting side hustle. I have so many post ideas but with 4 blogs, including this one, and a full time job, it gets tough to keep everything straight. This DIY Kanban board for blogging is a great way to keep things organized!
What is a Kanban Board
A Kanban board is basically a way to visually organize a project. They are used heavily in the corporate world by business managers, programmers and project managers. Kanban boards allow you to quickly ascertain what stage an item is in and where it should go next.
While this type of visual organization may have been originally created for the business sector, it can absolutely be used to manage various things at home. In this case, I’m using it to manage my biggest project, my blogs!
Managing My Blogs Electronically
I’m kind of a technology geek so I’ve tried a few different electronic tools for managing my blog electronically. When I was only managing two blogs, Trello worked great. When I started managing four blogs, I switched to Airtable to get more of an spreadsheet type layout with sorting and formula capabilities.
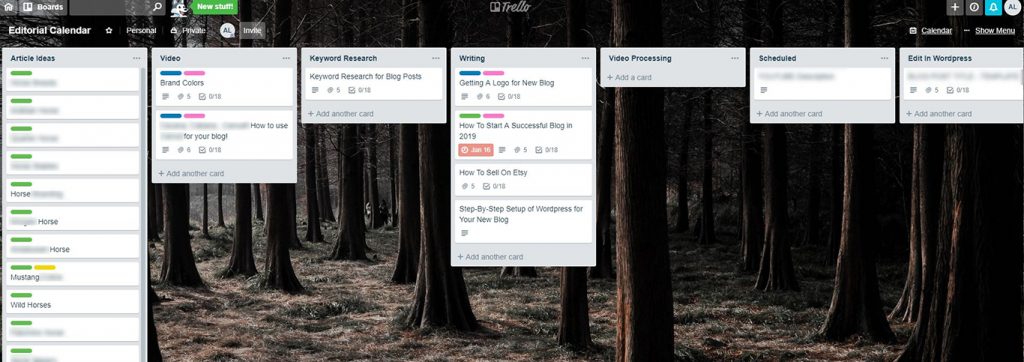
Trello
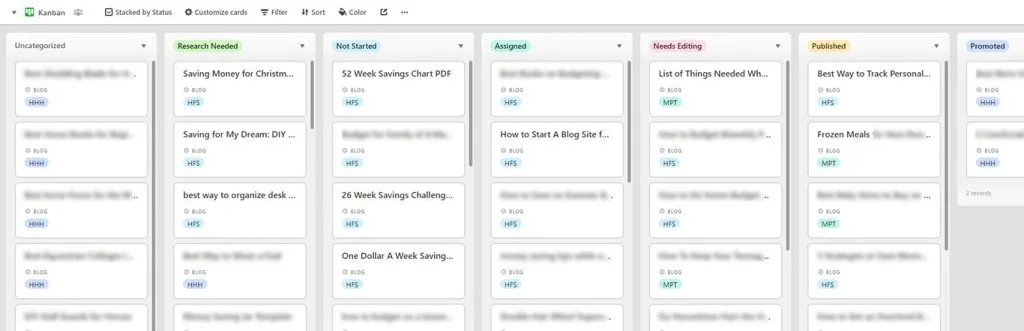
Trello is recommended by a lot of bloggers. It really is a nice, free kanban software tool. I’ve pasted my trello dashboard below. I really liked this type of visual workflow. This flow did work for me for a while, don’t get me wrong. I think I just either outgrew it or needed better guidance on how to make it work for my increased workload.

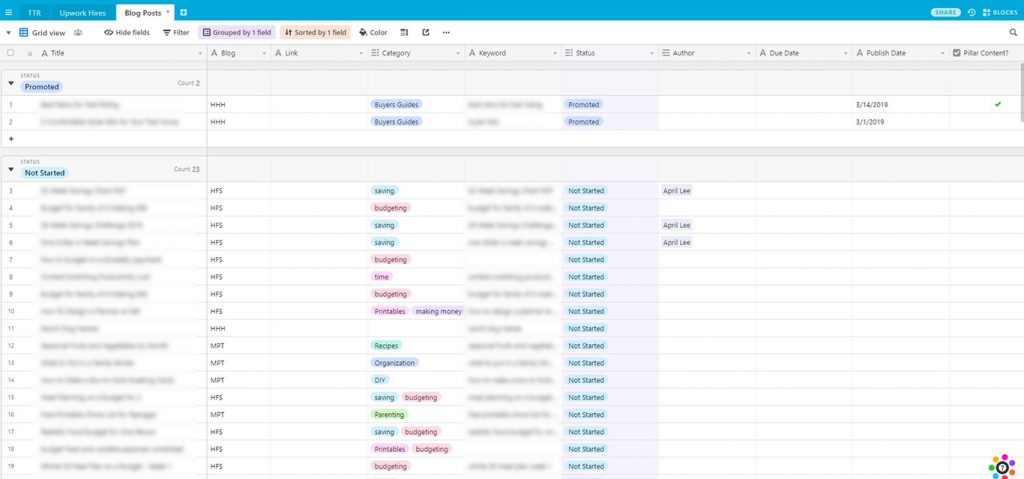
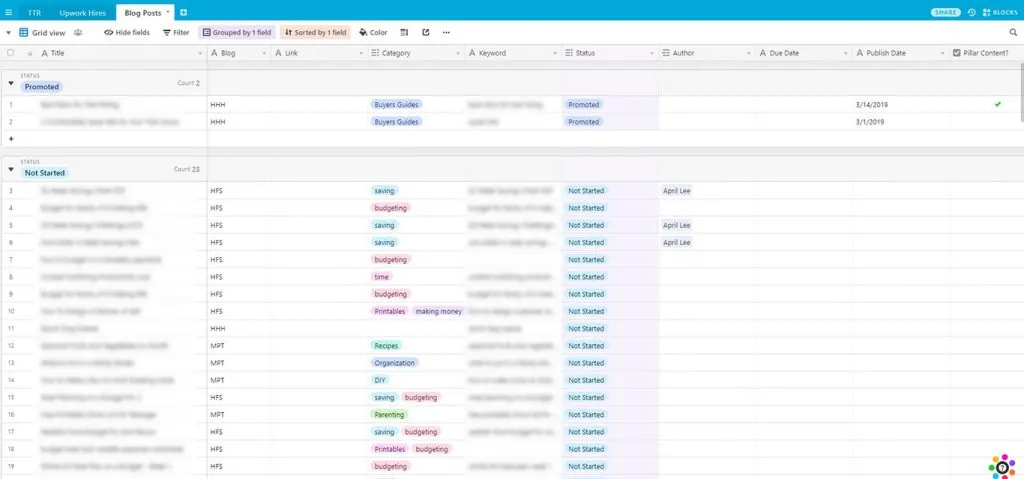
Airtable
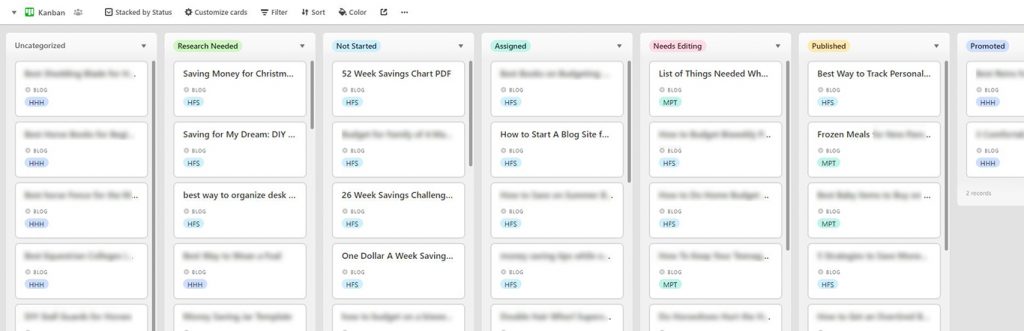
The great thing about Airtable is that you can easily switch to a kanban type view and then switch back to spreadsheet view. I love spreadsheets and especially pivot tables so their grouping features were natively easy for me.
One awesome feature the free trial has that the free version does not is the ability to color code records based on criteria you set. This was actually pretty cool. I used it to tell me which posts to focus on. Unfortunately the pro version is $20/mo and not in my budget just to get color coding but I still loved that aspect so I began thinking of ways to better visualize my blog plan.
Kanban Board for Blogging
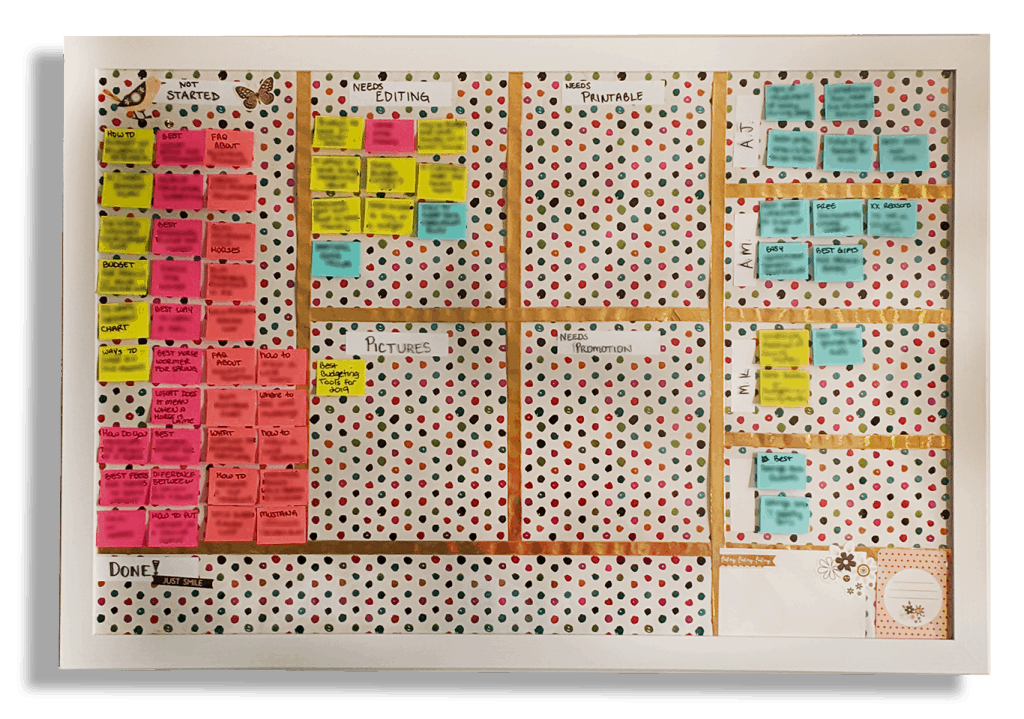
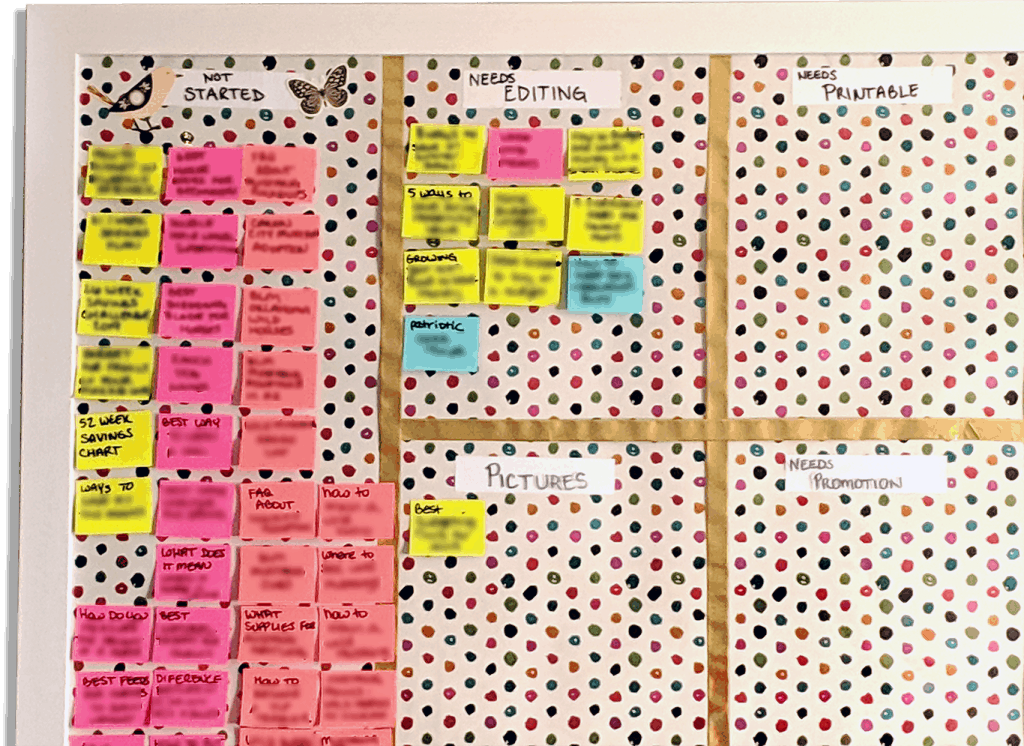
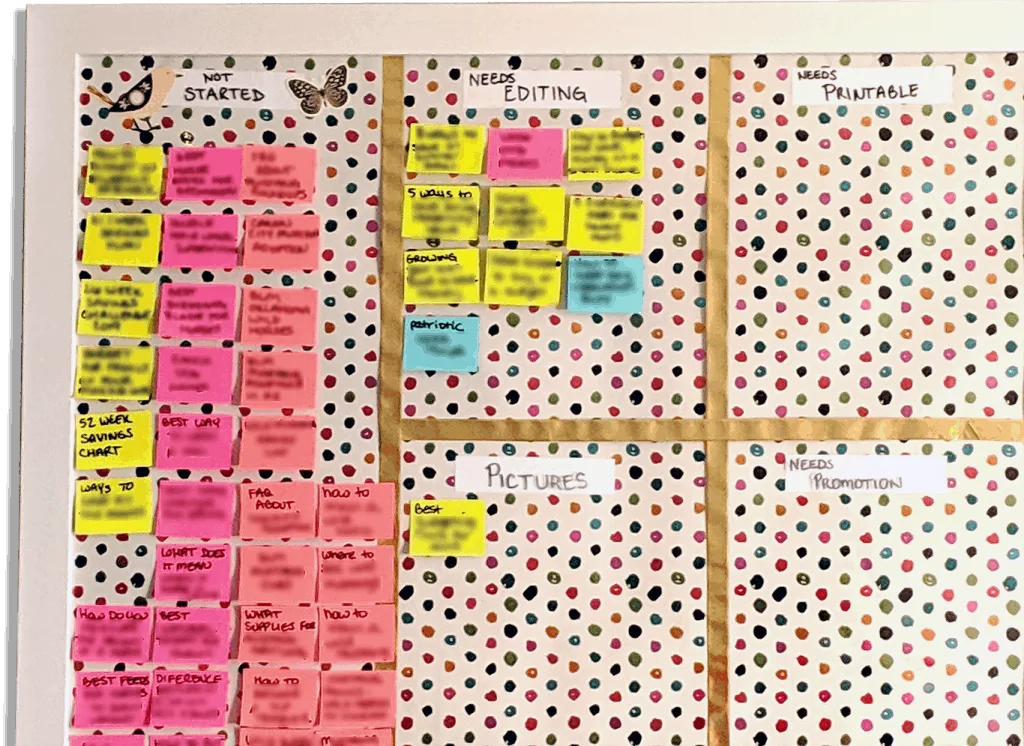
One of the things I really wanted to be able to visualize was the amount of work that is waiting on me and what stage those projects (blog posts) are in. I also wanted to be able to quickly see how much work had been completed.
At the beginning of the month, looking at a spreadsheet full of posts you need to make can be overwhelming. With the kanban method, I can easily see everything with a very quick glance.
Color Coding with Post-It Notes
It made sense to me to use post-it notes. Mostly because I had a four pack sitting in my desk with four different colors. I have 2 horse related blogs so it made sense to make them pink, each a different shade but both pink. Then I have this blog represented by the yellow color and my mom blog represented by blue.
I used the 1.5 x 2 inch size Post-Its for this project. I thought they might be a little small but it turns out they work perfectly. If I had less to manage I could have gone for a bigger size though.
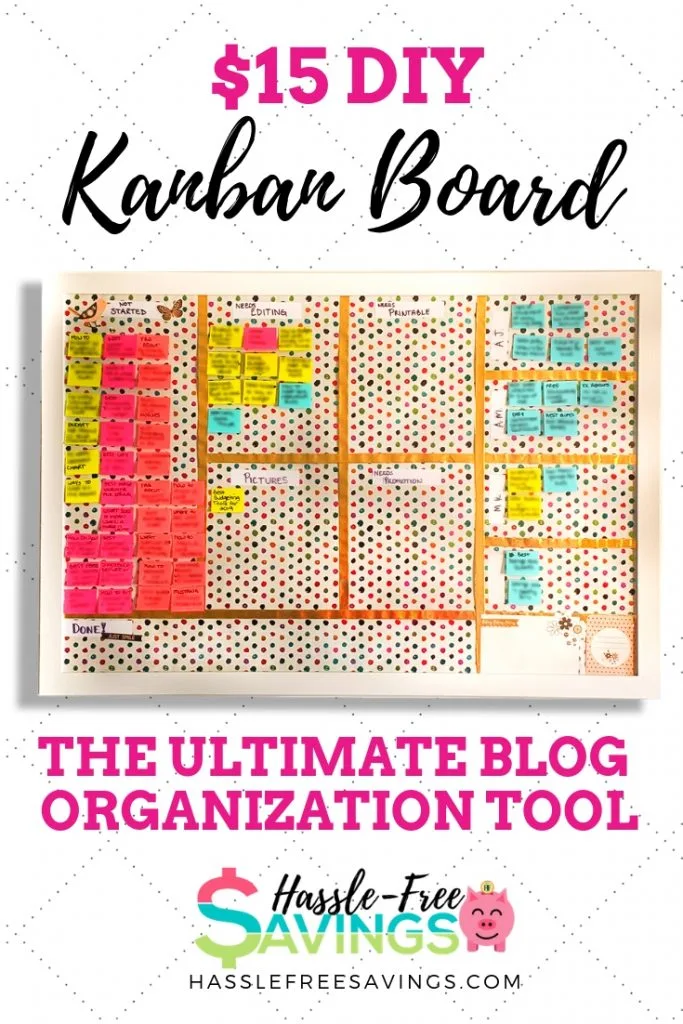
Building A DIY Kanban Board for $15
I know, enough with all the talk, where is the tutorial? Without further adieu, here is how I made the Kanban Board.
Materials:
- Post-It Notes
- Scotch Tape
- Glue Stick
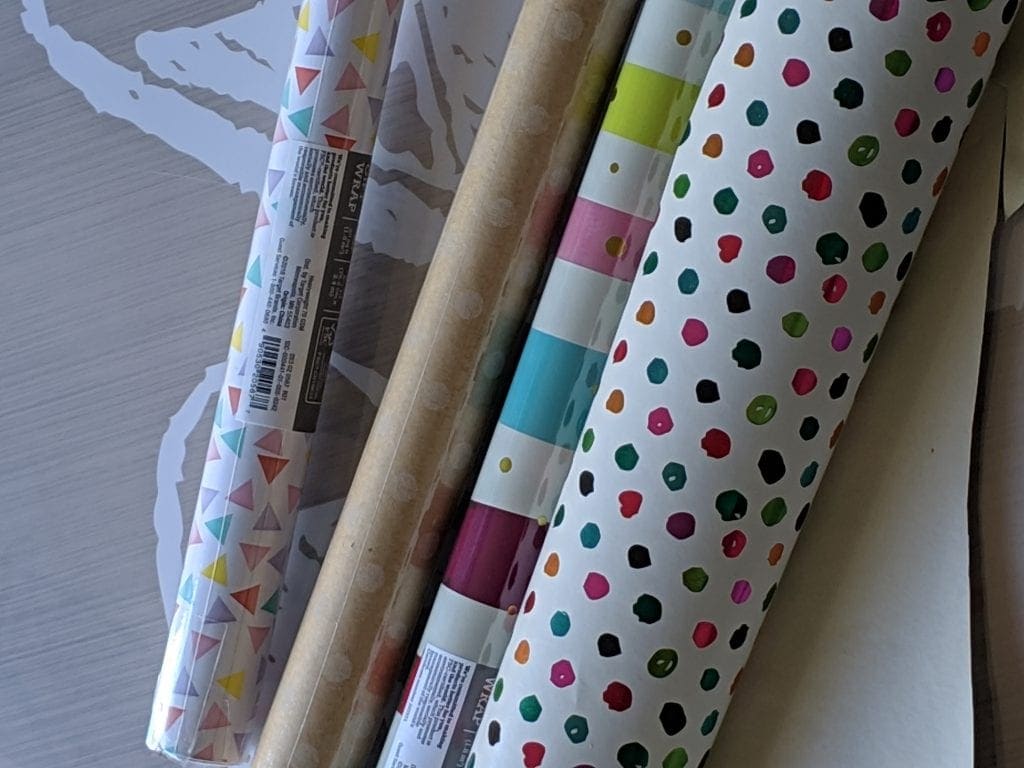
- Generic Wrapping Paper (not specifically themed for any holiday or event). You may want to try a kraft wrapping paper. I think it would be better than the foil paper I used.
- Coordinating Washi Tape
- 24 x 36” Belmont Frame from Michaels (or if you want to go smaller, get the 18 x 24)
- Random Scrapbooking Paper
- Ruler (optional)
I had everything on hand for this project except the Belmont frame. I got it during a sale for 70% off. I wound up paying $15.00 plus tax for the large frame and $12.00 plus tax for the small frame. It really is important to look for and use those coupons when you shop at Michaels. Remember, they also let you use JoAnns coupons (and vice versa).
Steps to Make the Kanban Board:


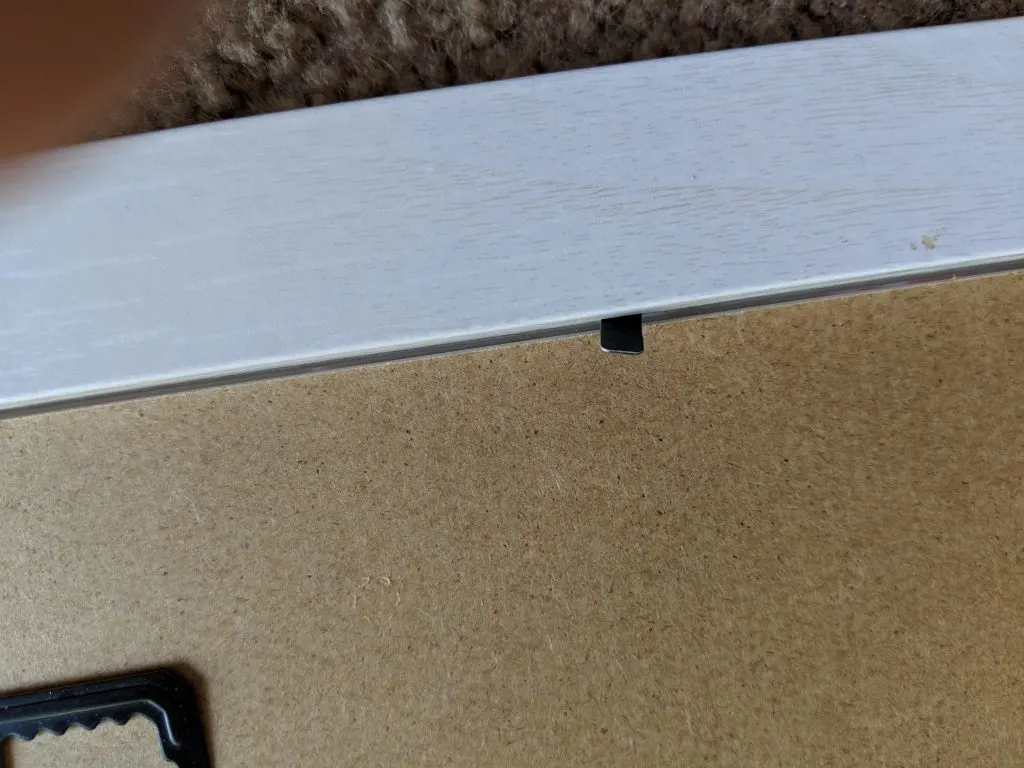
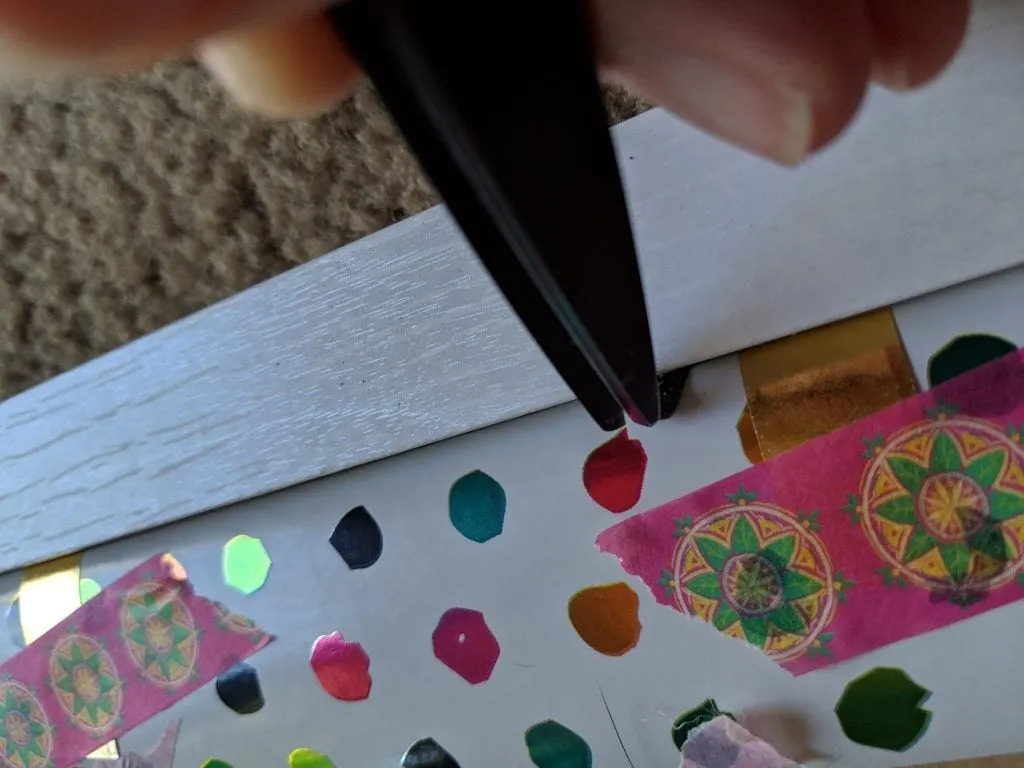
Remove backing by lifting up on all the little metal tabs.
Tip: Use your scissors to do this. It can be hard on your fingers.

Roll out your wrapping paper face down.
Lay the cardboard piece on top of the wrapping paper. Trim wrapping paper leaving
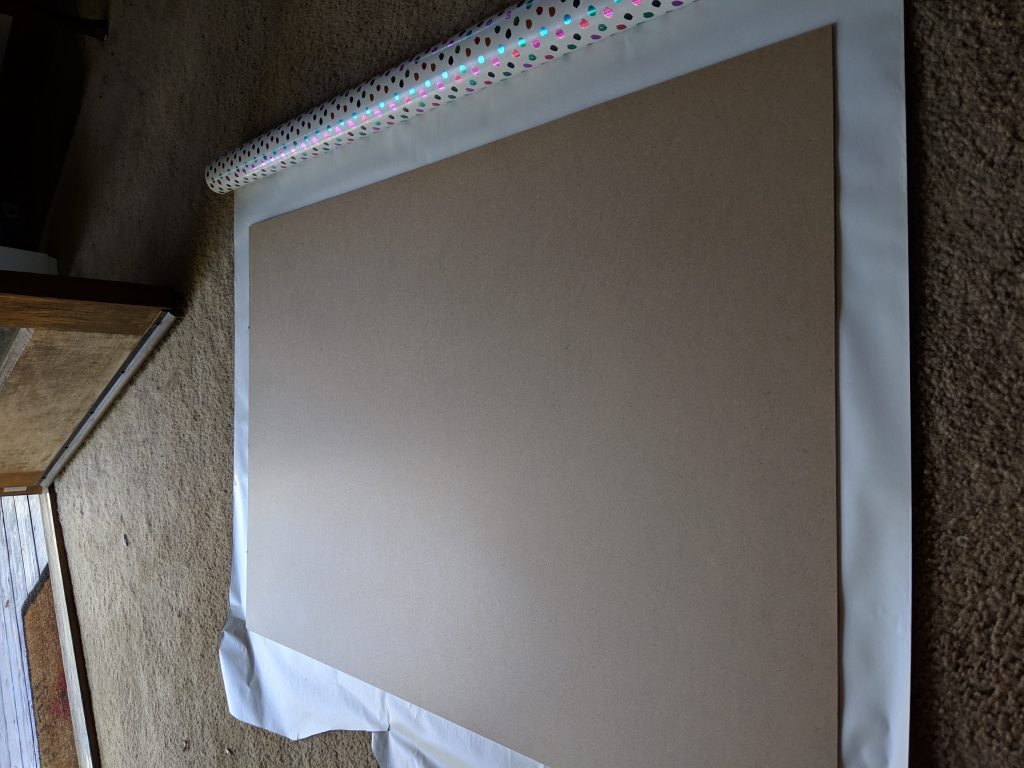

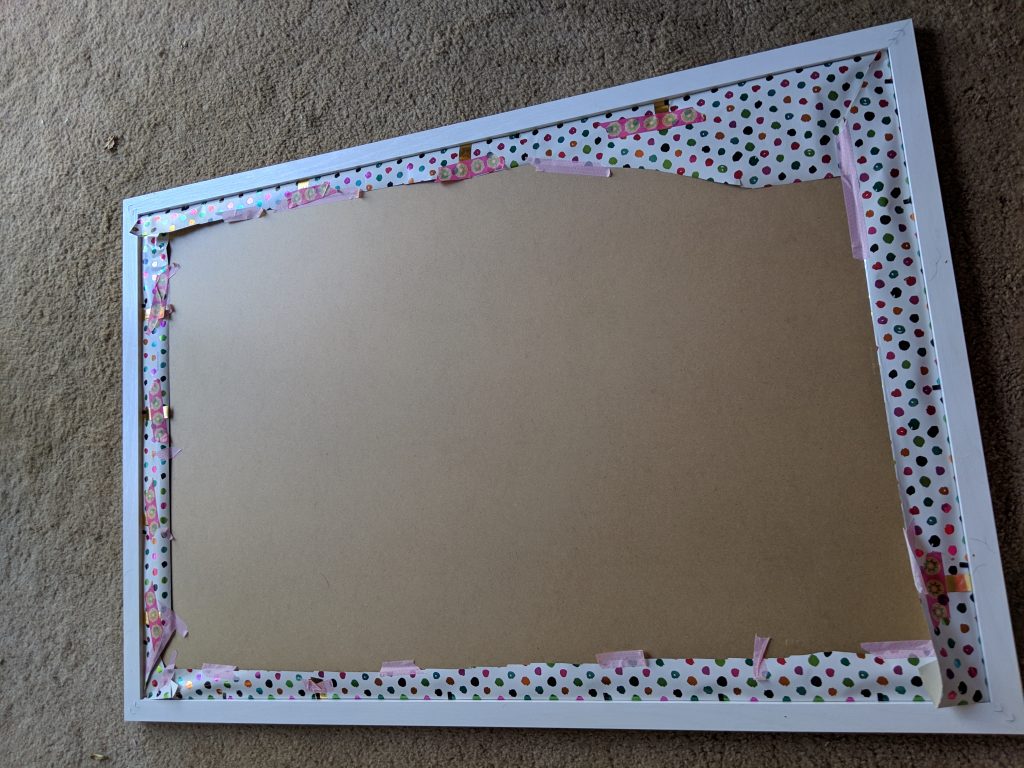
Wrap the cardboard. Be sure to pull taught and then tape the paper directly to the cardboard. I used washi tape here for two reasons:
- I was out of Scotch tape
- I wasn’t sure how this would turn out so Washi Tape would be easy to remove.


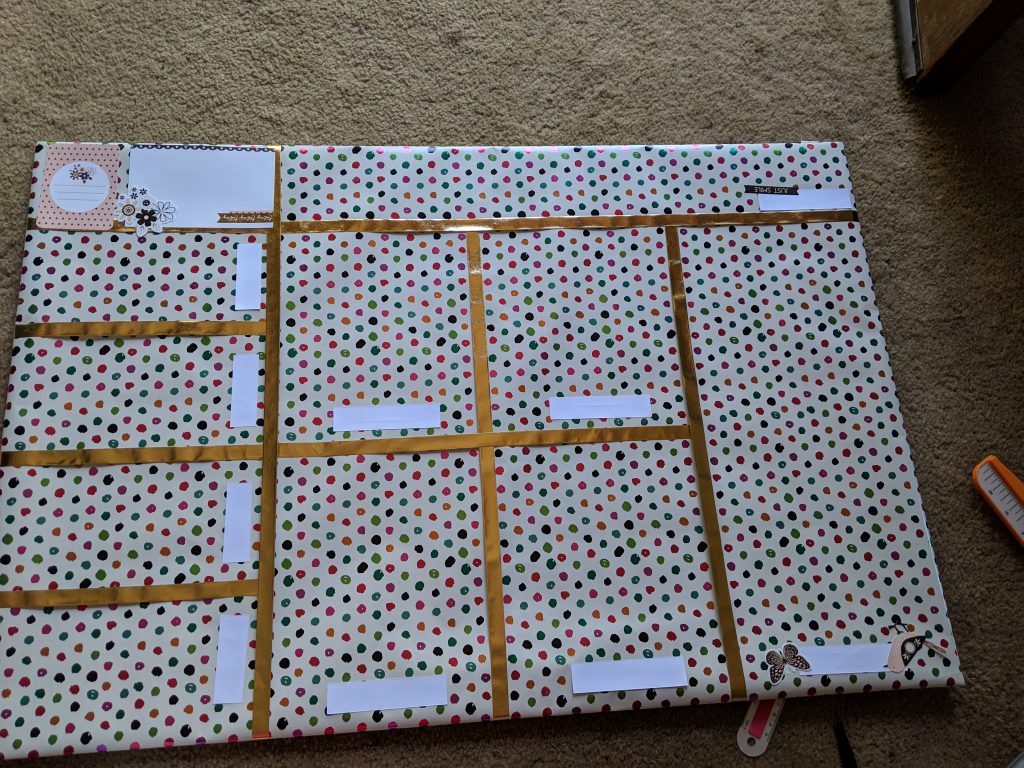
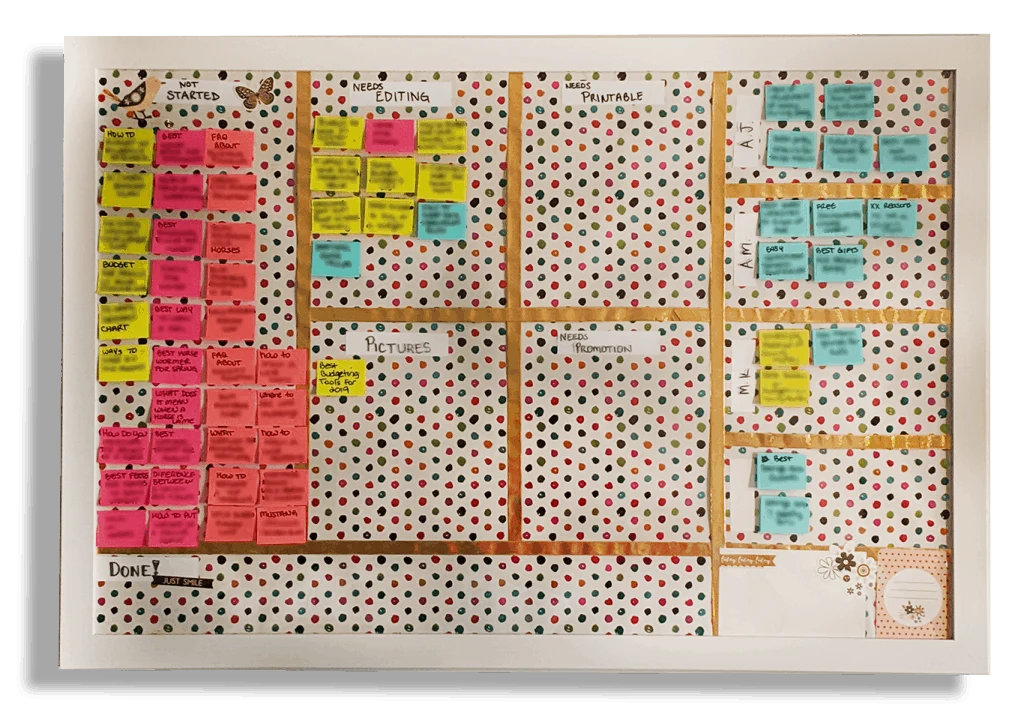
Once you are done with that, flip the board over and use your contrasting washi tape to make the lines on the Kanban board. My gold washi tape wasn’t sticky for whatever reason so I just used a glue stick on the ends to tape it down.
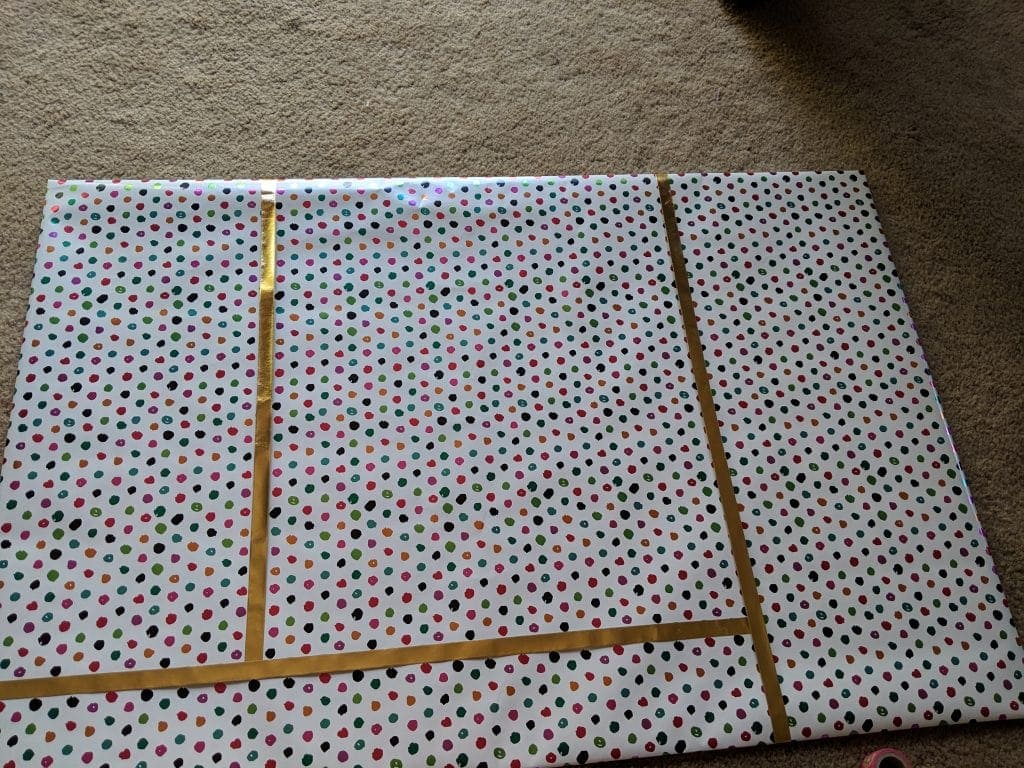

I used a ruler to try and make everything the same size and keep the lines straight. You could eyeball it too.
Tip: Sketch out your
Using scrapbook paper of choice, cut out labels for each section and glue or tape in place. You can label them now OR do what I did and label them at the end.

Once you are done with all of your lines and embellishments, you’ll need to add the board back into the frame. This can get tricky. Just be patient with it. The thinner your paper is the easier it will be. My paper wasn’t thin so here is what I did:
- Make sure all of the metal tabs are all the way up.
- Slide one long end into the frame making sure it is under the tabs.
- Lay down the cardboard paying attention to one short end. Try to make sure it goes under each tab as you lower the board.
- For the remaining two sides, you may need to bend the cardboard just a bit to be able to get it under the tabs.

DON’T STRESS OUT IF YOU CAN’T GET THE CARDBOARD UNDER ALL THE TABS, IT WILL BE OK, JUST GET AS MANY AS YOU CAN.
Once the cardboard is in place, lift the frame gently to check that nothing has fallen out of place. If everything looks good, use your scissors to tighten all of the tabs.

The hooks on these frames are super hard to use. I just added two level screws to my wall and hung the frame on those directly, not worrying about the built-in frame holders.
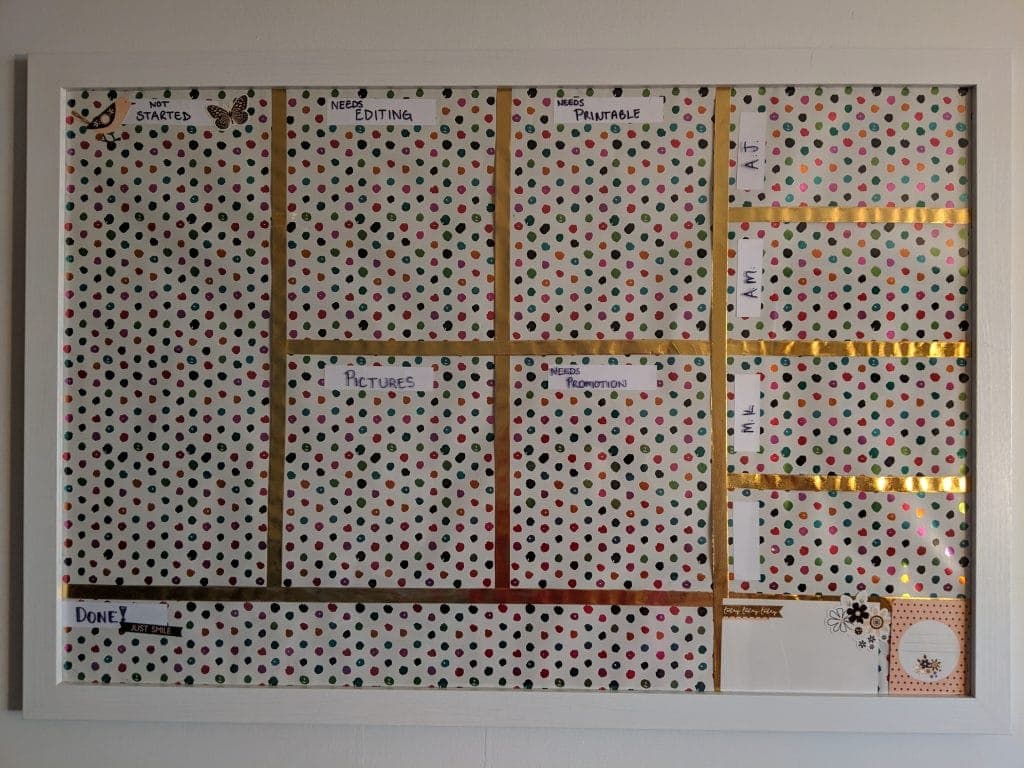

If you haven’t done so already, write in your headings. I did test the acrylic with generic dry-erase markers and it seemed to erase fine. My markers weren’t dark enough so I just shaded mine in with Sharpie. I know I can get it off with alcohol if I need to and I don’t plan on changing categories frequently.
Start adding sticky notes!
Notes About This Project
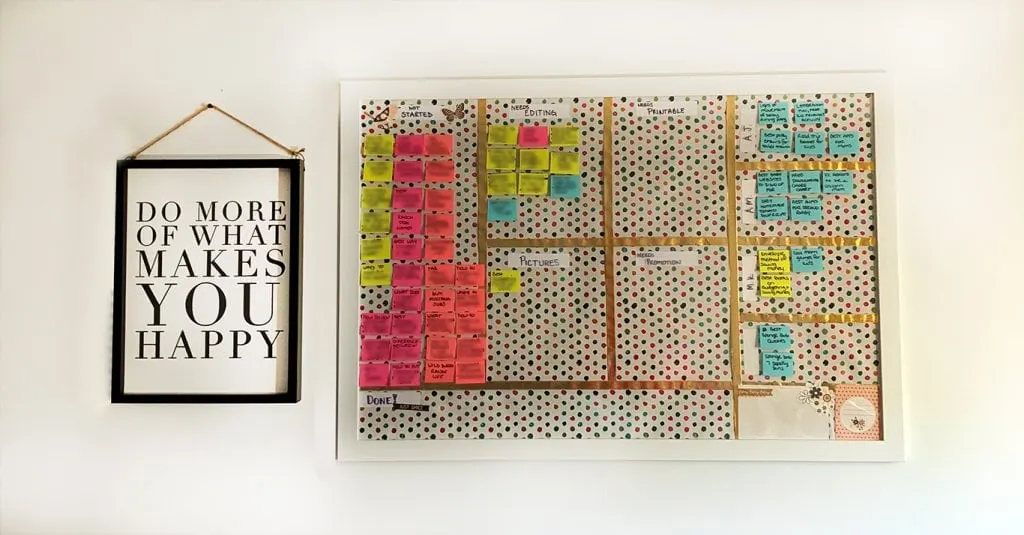
Its OK to Change Things Around – My bottom section is meant for completed items but I thought it might be nice to add a section to the right where I can put the month and some blogging stat like # of subscribers or page views or whatever I am tracking that month.- Choose Wrapping Paper Wisely – I used a very shiny foil wrapping paper. While I love the paper on presents, it was a bit too busy for this board. It looks OK when covered in sticky notes but I wished I had gone with a more plain paper.

Alternate Categories – I realize most bloggers don’t try and run four blogs at once. The whole right hand side of my board is for items I am waiting on others for. Guest Posters, Editors, Etc. As a “normal” blogger, here are some additional categories you might want to use:
- Pageviews
- Income
- Subscribers
- # New Posts Completed this Month
- Admin Tasks
- Post Promotion Workflow
- Editorial Calendar

Conclusion
I hope this post has given you some great ideas about how you can DIY a kanban board for blogging at home. It will help keep you visually organized and hopefully give you
These frames are so versatile I’m either going to turn my other one into an editorial calendar or maybe a chore chart for my daughter. In any case, this project will add some pizzazz to your office and help you keep your blog organized!
RELATED POSTS
- HOW TO IMPROVE PRODUCTIVITY BY IMPLEMENTING THE POMODORO TECHNIQUE
- 5 ELECTRONIC FILE MANAGEMENT TIPS TO KEEP YOUR COMPUTER ORGANIZED