*This post may have affiliate links, which means I may receive commissions if you choose to purchase through links I provide (at no extra cost to you). As an Amazon Associate I earn from qualifying purchases. Please read my disclaimer for additional details. Thank you for supporting the work I put into this site!
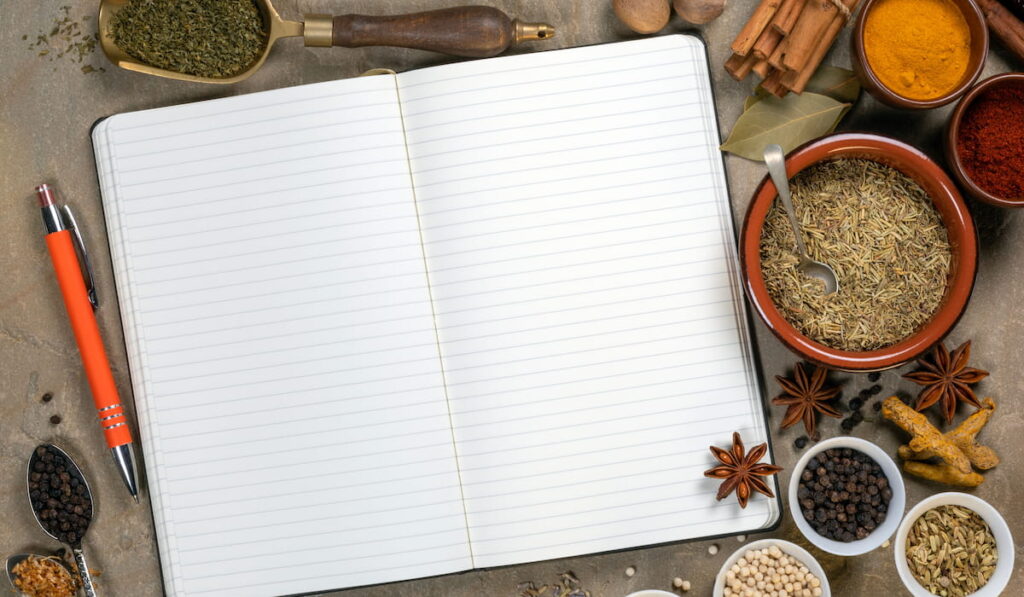
If you fancy cooking, then there’s every chance you would accumulate a bunch of recipes.
You might also get to a point where you have so many recipes, they become messy or hard to keep track of.
Recipe binders are a great way to collate all your favorite recipes – and those you are not so fond of – into a single place. Having one makes for easier access and handling.

Instead of just purchasing a binder in a store, you can opt to make one at home. This way, you can customize the binder to your taste.
In this article, we will be helping you with the things you need to make a binder. Let’s get started.
Materials for Making a Recipe Binder

The materials you use when making a recipe binder are often particular to the recipe binder in mind. They also heavily depend on the approach employed in making the recipe.
The following are some materials that would come in handy while you make your recipe binder:
- Tab punch: This material is useful in creating tabs.
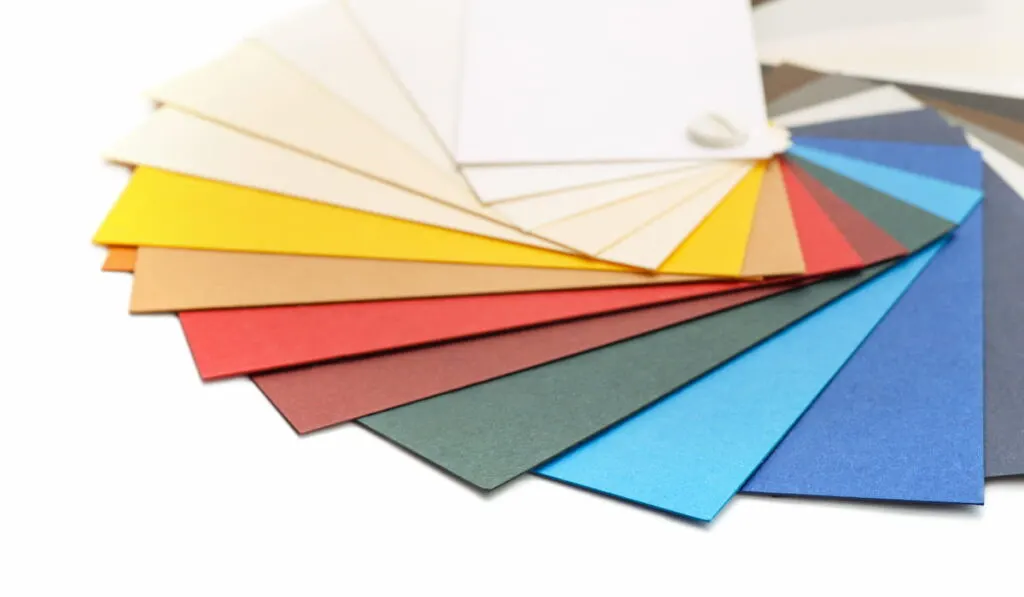
- Card stock: Alongside the tab punch, card stock is for making tabs on the recipe binder. You may laminate the tabs on a separated divider. It all depends on the method and design of the recipe binder.
- Tape: This can add different rays of colors to the recipe binder. You may use different hues of washi tape instead of regular, colorless tape. This tape also comes into play during lamination to ensure the tabs are firm.
- Writing Implements: You will need pens of different colors, markers, pencils, and crayons to write and decorate the contents of the recipe binder. With these, you can add a personal touch to the recipe binder by making it unique and beautiful.
- Laminator: This is an office machine that you can use for several purposes. After writing and decorating the pages, you may then laminate them. The lamination elongates the lifespan of the recipe by protecting the papers from any direct contact.
- Cutters and Scissors: You will need these to cut, trim, and shape paper.
- Binder: You can use any binder to make a recipe binder. Options available to you include from 3-ring binder, disc binder, perfect binder, comb binder, or spiral binder.
- Plastic Sleeves or Sheet Protectors: This is a non-permanent alternative to laminating the sheets. All you need do is slip the pages into the sleeves, and they are protected.
- 3-hole Punch: When using a 3-ring binder, you may use a 3-hole punch on the sheets, whether laminated or not. This is to ensure that the sheets fit into the ring binder. However, if you’re using a plastic sleeves/sheet protector, a 3- hole punch may not be necessary since most sheet protectors come with three holes.
- Hot Glue Gun: Glue can serve as an alternative to a tape in instances when there are things to hold together more firmly.
- Tabbed Dividers: Rather than making them out of card stock, you can buy a set of tabbed dividers. This will save you the stress of cutting and trimming card stock.
- Printer and Printing Paper: While some people prefer to handwrite their recipes, others prefer to type them on a computer. To create content or design digitally, you would need a printer and some printing paper.
- Recipes: Of course, there can be no recipe binder without the recipes. The recipes are the soul of such binders. Get your recipes in order, and the recipe binder will come to life.


9 Steps to Making a Recipe Binder
Here, we go step-by-step in helping you make an excellent recipe binder.
- Purchase all the supplies necessary for the kind and design of recipe binder you wish to make.
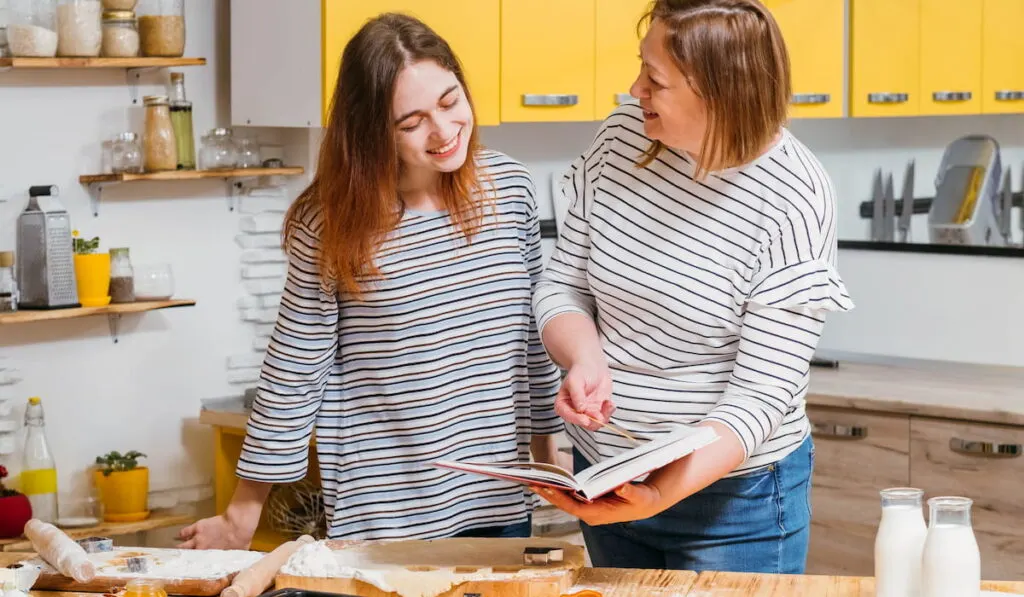
- Gather all of the recipes you intend to add to the recipe binder. You may source them from cookbooks, the Internet, or people who know your favorite recipes.
- Prepare the recipe sheets. This can either be handmade with sheets of card stock and stationery or designed on a computer and printed out.
- Attach tab dividers to the sheets. The tab dividers may be purchased as a set or made using a tab punch and card stock. Trim the dividers and sheets to the intended sizes with scissors and cutters. The tabs can then be attached using tape or hot glue.
- Protect the pages. You may do this by laminating the pages with a laminating machine. Another way is to insert the pages into the plastic sleeves or sheet protectors.
- If you opt for lamination, trim off the extra along the edges with scissors or a cutter.
- Assemble the pages. If you are using a 3-hole binder and the pages were laminated, punch them with the 3-hole punch.
- Arrange your recipe sheets into your binder. You can organize according to the menu, meals type, ingredients, or from your best to your least-loved recipes.
- If you wish, design a cover page and a table of contents.
Types of Recipe Binders
Binders come in different shapes and forms. The type of binder you use depends mainly on your preferences.
1. 2- or 3-Ring Binder
This is one of the most common types of binders for making a recipe binder.
A 3-ring binder can come in several sizes, but an average size range is between 1-3 inches.
A 3-ring binder of 1.5 inches is highly recommendable because it is moderate, leaving it not too big and not too small.
2. Spiral/Coil Binder


This kind of binder is not as commonly used as the 3-ring binders. This is because spiral or coil binders are not as flexible.
Usually, you get a spiral recipe binder by getting a book that comes with such binder, and then write your recipe in it.
Another way to get a spiral or coil binder is to request professionals who specifically make it.
This kind of binder is very durable, and you can coat the wire in different colors.
3. Disc Binder
This binder type combines features of the 2 inch or 3 inch ring binder and the spiral binder. It can either be purchased or made.
When you get the discs, insert them into the recipe sheets. Besides the disc, you should get a disc cover. The disc cover will serve as the front page of the recipe planner.
Lastly, punch all the sheets to join all the discs, disc covers, and recipe sheets.
Organizing Recipes in a Binder
Organizing recipes into a binder is one of the most important processes of making a recipe binder.
An organized binder provides quick and easy access to any recipe whenever the need arises.
You can sort your recipes in the following ways.
Diet
If you prepare meals for people who are on different diets, you can decide to organize your recipes according to these diets. Different diets include:
- Meat-loving
- Vegetarian
- Low salt
- Low calories
- Kids meal
You could have a low salt and calorie section for your parents. Additionally, you may include a vegetarian or meat-lovers segment alongside a kid’s section for healthy meals if you are a parent.
Meal
One of the easiest ways to organize your recipes is to arrange them in line with the meals. This may be:
- Breakfast
- Lunch
- Dinner
- Dessert
- Snacks
Ingredients
Every recipe has a vital ingredient without which it would be incomplete. Recipes can be arranged around these components. Such ingredients are:
- Chicken
- Rice
- Beef
- Fish
- Pork
- Vegetables
Cost
In cooking, there are always low budget, moderate budget, and high budget meals. You may cook some meals at little expense, while the ingredients for others are expensive.
You could decide to arrange your recipes in this order:
- Low budget
- Average budget
- High budget
Cuisine Style
There are several cuisines originating from different cultures all over the world. The cuisines in which recipes can be arranged include:
- Asian
- Chinese
- African
- Italian
- Tex-Mex
- Mediterranean
Cooking Methods
Different foods comes with different styles of preparation. Recipes can be arranged as:
- Baking
- Frying
- Pressure cooking
- Slow cooking
- Grilling
Time of Preparation
You may use the average time spent on cooking a meal to organize your recipes such as:
- Two hours and more
- One hour
- 30 minutes or less
Theme
The theme of the occasion leading to some specific meals could equally be used as a means of organization. This includes:
- Christmas
- Holiday
- Thanksgiving
- Birthday
- New Year
Best to Least
This is another way to organize recipes. Everyone has meals that they love and those in which they have little interest.
Keeping your favorites together and leaving lesser loved option on their own is another way to get organized.
Course
The course in which the food falls into can also be a way to classify the recipe binder:
- Appetizer
- Main meal
- Dessert

Tips for Using Your Recipe Binder for Meal Planning
To get the best value from your recipe binder, consider the following recommendations:
- Arrange your recipes in the recipe binder in any of the methods that will be most comfortable in meal planning.
- If you can, have different recipe binders that follow various styles of organization.
- Consider everyone that eats the meals when making your recipe binders.
- Make sure the recipes in your recipe binders are those you’ve experimented with before.
- Design another recipe binder to include those you haven’t yet tried but intend to try.
- Use your recipe binder to plan your shopping for groceries or take it along with you.
- Select recipes you intend to cook weekly or more often for inclusion in the recipe binder.
Resources
- https://www.littlehouseliving.com/meal-planning-binder-easiest-method-meal-planning-ever.html
- https://successfulhomemakers.com/make-your-own-recipe-binder/
- https://www.iheartplanners.com/the-ultimate-guide-to-discbound-planners/
- https://organizingmoms.com/recipe-binder/
- https://cleanmama.com/how-to-make-a-recipe-binder/
- https://www.bluesummitsupplies.com/blogs/resources/how-to-get-cooking-with-a-custom-diy-recipe-binder
- https://blogs.alphagraphics.com/blog/idaho-falls-idaho-us679/book-binding/
- https://www.cookbookpeople.com/blog/2010/07/18/top-3-ways-to-bind-recipe-books/
- https://funcheaporfree.com/look-inside-my-recipe-notebook-great/
- https://www.thekitchn.com/10-tips-for-better-weekly-meal-planning-reader-intelligence-report-177252